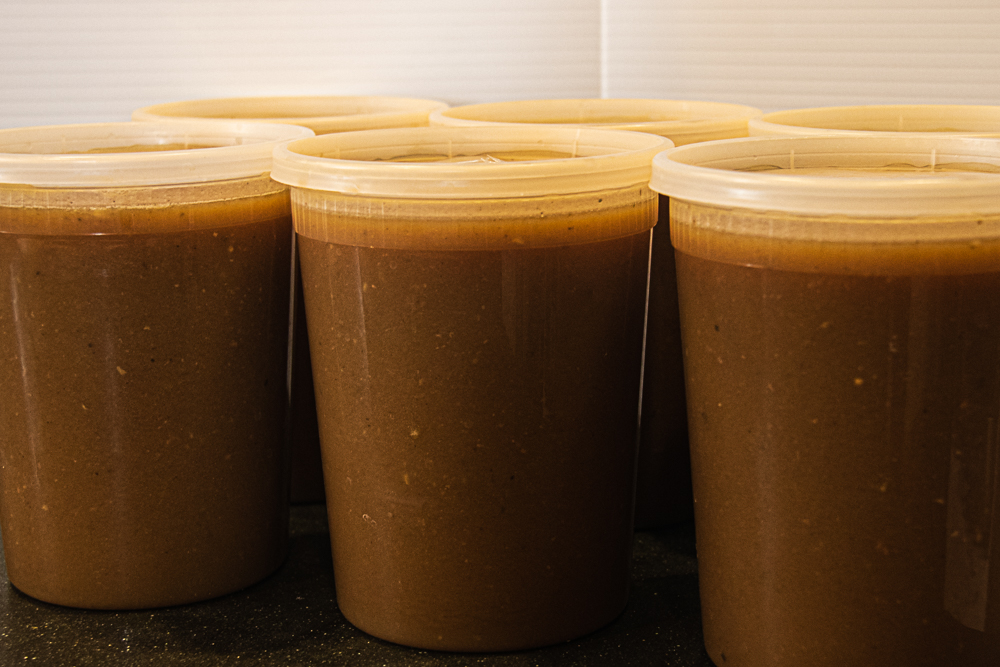
Turkey gravy can be made ahead of time and refrigerated or even frozen for up to three months. On the big day, you can fortify the gravy you made ahead with the drippings from the turkey at the last minute. No need to hold up the big meal waiting for the gravy to thicken, it can be ready and waiting for you instead of the other way around. This make ahead turkey gravy will free us stove space and remove the last-minute worry from the feast.

Good gravy requires three things in the proper ratio.
- 2 tablespoons fat (make this flavorful)
- 1-1/2 tablespoons flour-type thickener (cornstarch thickener is a different ratio)
- 1 cup liquid
This ratio will make 1 cup of gravy.
Since gravy doesn’t have a long list of ingredients, it is important to add the most flavor you can to each component. The thickener is the only ingredient that really can’t be fortified, so the fat and the liquid need to bring as much flavor as possible to the dish.
Drippings
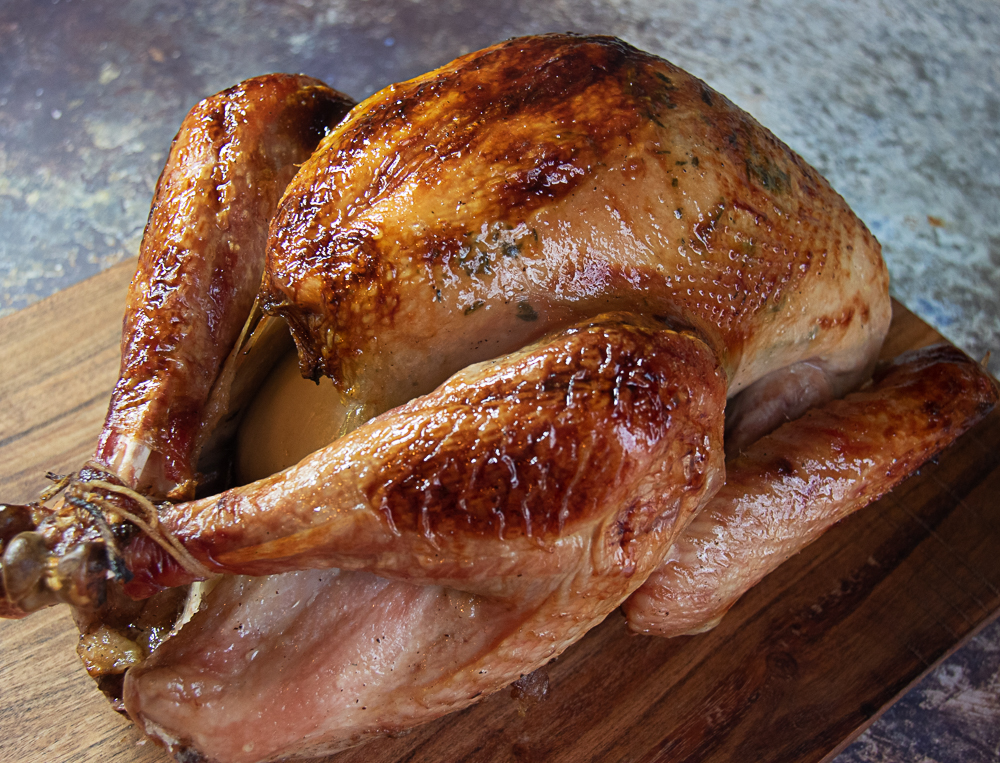
Luckily, the drippings can provide both of these ingredients. Drippings are the yummy liquid and brown bits left other after roasting. They include fat from the meat and juices that have pooled at the bottom of the pan both from the meat and any broth or other liquids used in the bottom of the roasting pan.
You can also get more fortified liquid from deglazing the pan by scraping the brown bits with a spatula to loosen them and then pour about 1/2 cup of water, stock or wine over the caramelized bits in the roasting pan over medium-high heat and simmering the liquid for 2 minutes until you have released all that goodness from the pan and have a deep-colored liquid. Transfer all the liquid from your roasting pan to a liquid measuring cup or gravy separator. In a few minutes, the fat will rise to the top of the liquid.
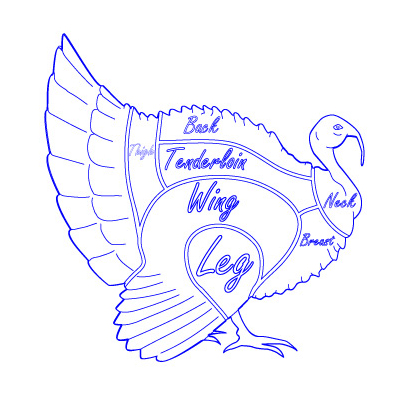
Roast turkey parts for drippings
When making gravy ahead of time, roast some turkey parts like back and wings in a large heavy pan at 400°F for about 1 hour or until deep golden brown. I place the pieces on onion slices (about 1/2” thick) and add 1 cup stock to the bottom of the pan to keep any bits from burning. After roasting, remove the meat from the turkey and enjoy, deglaze the pan and use the fat and liquid to make gravy.
I don’t cook gravy in the roasting pan, I like the control of a large heavy pan that fits over one burner on the stove. Besides, I usually need the space on the stove for other dishes.
Remember the formula above, now it is time to figure out how much gravy you can make with the fat and liquid you have. Plan on 1/2 cup (4 ounces) of gravy per person plus a little more for those guests who really like gravy over everything. Measure the fat that has separated from the liquid in the measuring cup. You need 2 tablespoons for every cup of gravy. If you don’t have enough fat from the turkey pieces, you can add bacon fat or melted butter to make up the rest.
Vegetarian Gravy
If you are serving vegetarian guests, you can use just butter for the fat and substitute vegetable stock, and liquid from deglazing a pan where you sauteed mushrooms to make gravy. I also like to caramelize onions and blend them until smooth to add to the gravy which gives a richer flavor profile as well.
The Secret to No Lumps in the Make Ahead Turkey Gravy
There are two secrets to lump-free gravy, making a roux and heating the liquid you will be adding to make your gravy. These two steps buffer the flour particles in fat by making the roux instead of just sprinkling flour into the gravy. Heating the liquid you add to the gravy makes sure the flour particles play nice when the introduced to the liquid rather than seizing up.
To make a roux you briefly cook the flour in the melted fat until the mixture turns golden brown and starts to smell like nuts. Use a whisk to blend the flour into the fat until it is smooth, keep whisking for about 2-3 minutes. This will cook out the floury taste.
Heat the fortified drippings
Meanwhile, in another saucepan, heat the liquid from the drippings over medium-high heat. You already have figured out how much liquid you will need for the quantity of gravy you are making. Start with the liquid from the drippings and add turkey stock to make up the rest. I add about 1/2 teaspoon poultry seasoning to this liquid and often add a spring of fresh thyme and several sage leaves to the pan to fortify the liquid even more. Don’t just use water, it doesn’t bring any flavor to the gravy. Strain out the herbs before adding to the gravy.
Combine the drippings with the roux
When the roux is golden brown, add about 1/2 cup liquid in a steady stream while whisking constantly. Stir in another 1/2 cup of liquid, the roux may separate and look weak, but keep whisking, and adding the rest of the liquid over medium heat. Whisking constantly will break up any lumps that try to form and after a few minutes the gravy with be smooth. Not adding all the liquid at once will prevent lumps from forming.
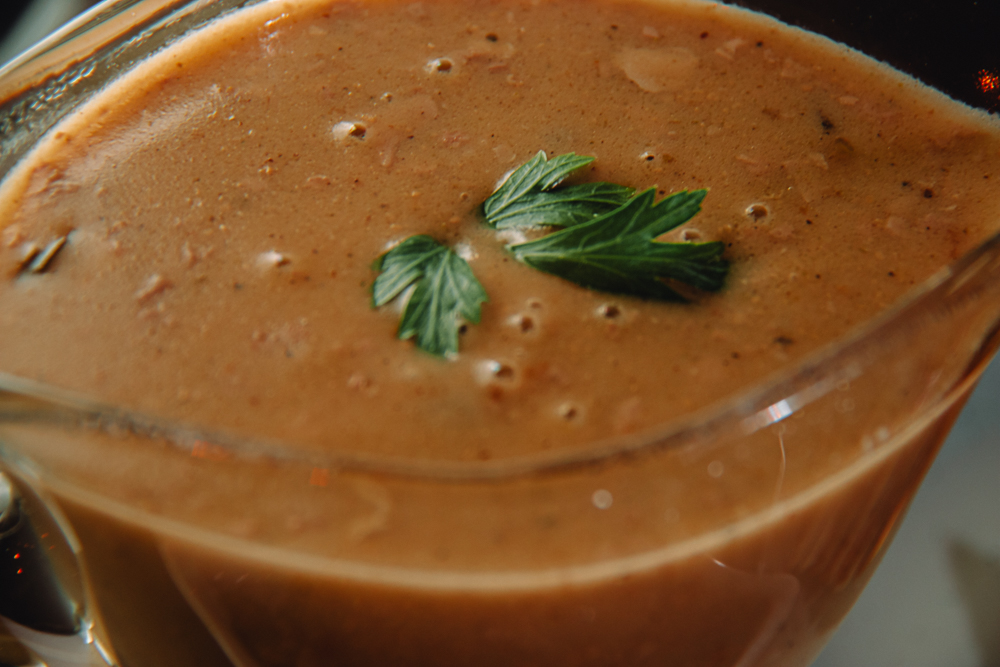
Taste and adjust the salt and pepper levels. You can serve warm or cool and freeze the gravy for Thanksgiving day. To reheat, defrost frozen gravy overnight and heat on a large saucepan over low heat until smooth. Taste and adjust the seasonings if needed. You can stir in the dripping liquid from the turkey as added flavor. You can add a splash of cream right before serving. Garnish with herbs.
Print
Make-Ahead Turkey Gravy
- Prep Time: 60 minutes
- Cook Time: 15 minutes
- Total Time: 80 minutes
- Yield: 6 1x
- Category: sauce
- Method: heated
- Cuisine: American
Description
The secrets for flavorful, lump-free gravy that you can make ahead of time.
Ingredients
- 6 tablespoons fat rendered from turkey
- 4–1/2 tablespoons all-purpose flour
- 3 cups liquids from drippings (fat removed) and turkey stock
- 1/2 teaspoon poultry seasoning
- 1/2–1 teaspoon salt
- 1/4 – 1/2 teaspoon ground white pepper
- Sprig of fresh thyme
- 3 leaves fresh sage
Instructions
- In a large heavy saucepan, melt the fat over medium heat.
- Heat liquid in a separate saucepan over medium-high heat. Add the poultry seasoning and stir to combine.
- If desired, steep the sprig of thyme and sage leaves in the liquid. Remove before adding to the gravy.
- Whisk the flour into fat to make a roux, continue until the mixture is a deep golden brown and starts to smell slightly nutty.
- While whisking, stir in 1/2 cup of liquid until smooth, Add another 1/2 cup while whisking constantly. Continue to whisk while adding the liquid in a steady stream until all the liquid is incorporated and the gravy is smooth and thick.
- Reduce heat to low and simmer 2 minutes. Taste and add salt and pepper.
Nutrition
- Serving Size: 4 ounces
Leave a Reply