Raw garlic has a sharp bite, but roast it for about an hour with a drizzle of olive oil and salt and pepper and it transforms into a luscious spreadable substance that adds a mellow sweet umami taste to everything around it.
And roasted garlic is so versatile! Spread it on crusty bread as the base layer for crostini. Use it in spreads. Add it to a sauce or soup and when heated, the texture will melt away leaving a huge flavor boost. Add it to pasta. Top a steak with the caramelized onions mixed with roasted garlic goodness. Or even eat it plain.
Roasted garlic is available in pre-peeled roasted cloves at the olive bar at the grocery store in the deli department. But it is easy to make it at home in the oven or on the grill.
Storing Roasted Garlic
Roasted garlic can be stored in the refrigerator for up to two weeks if you add olive oil to the container (enough to coat the cloves with oil and cover the bottom of the container. The olive oil you add will be infused with the roasted garlic flavor and can be used in vinaigrettes or to cook with
You can also freeze cloves for future use. To freeze roasted garlic, remove the cloves from the head and peel the cloves. Arrange the individual cloves on a baking tray and the roasted cloves on a small baking sheet and place in the freezer until firm, then transfer the frozen cloves to a sealed container or freezer bag and freeze until ready to serve. No need to defrost if you are going to add the cloves to something that will be cooked. Otherwise, let the cloves thaw and enjoy.
How to Roast Garlic
You can make your own roasted garlic by roasting a whole head of garlic or peeling the cloves (you can buy them with the way in the produce department) and roasting just the cloves. When you roast garlic you are actually steaming the cloves so they become soft as well as roasting the outside to produce the caramelization of the outside of the cloves which gives that mellow deep flavor.
The trick is to not roast the cloves to the point that they dry out and become hard. Roasting garlic as a whole head helps protect the individual cloves, but you must cut off the top of the head to expose the garlic inside to the oil and heat. Once the garlic is roasted, you need to squeeze out the roasted cloves inside, (which is oddly satisfying,) but also wastes some of the roasted goodness and is messy.

Or you can spend the time and effort to peel each clove and reduce the roasting time. This allows you to store (and/or freeze) the roasted garlic easily and doesn’t distort the cloves by having to squeeze them.
Print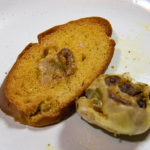
Roasted Garlic
- Prep Time: less than 5 minutes
- Cook Time: 45 minutes
- Total Time: 0 hours
- Yield: 12–18 cloves of garlic 1x
- Category: chef’s tip
- Method: baked
Description
Easy instructions for roasting garlic in the oven.
Ingredients
- 1 head of garlic
- 1 tablespoon olive oil
- 1/4 teaspoon kosher salt
- Pinch of black pepper
Instructions
- Preheat oven to 400°F.
- Peel the outer most papery skin from the garlic head.
- Slice the top part of the garlic head off cutting about 1/4 of the way down the head to expose each clove. If necessary, make additional slices on any edge cloves to exposed a small portion as needed.
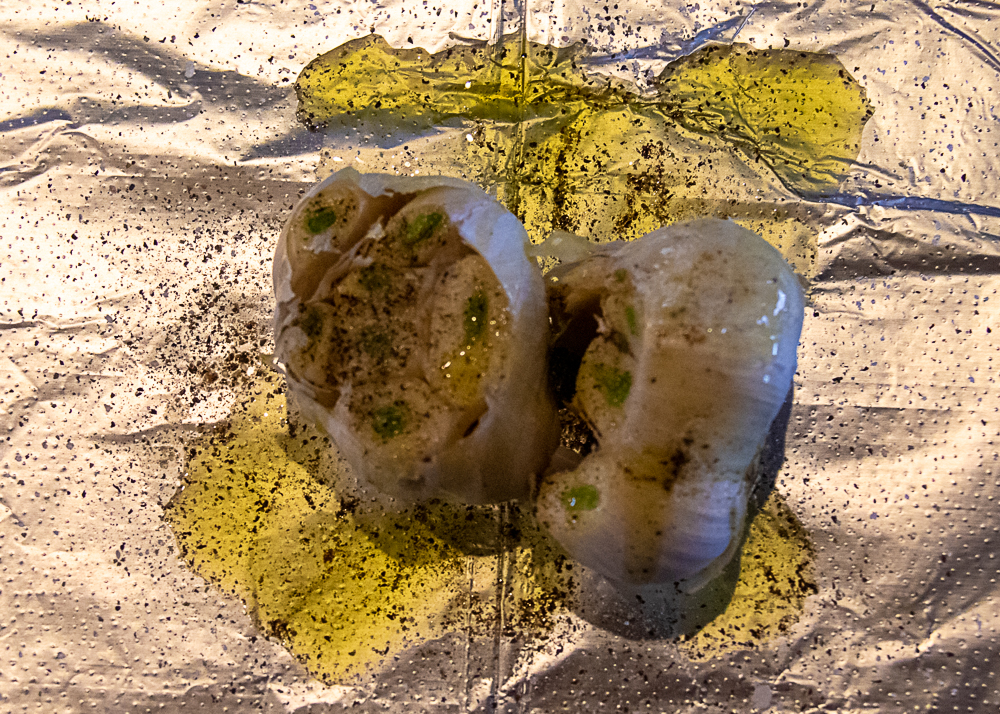
- Place the garlic head cut side up on a piece of foil, drizzle the garlic with about olive oil (about 1 tablespoon per head) .
- Sprinkle the garlic head with kosher salt and black pepper.
- Gently (and loosely) gather the foil into a bundle on top of the garlic.
- Roast in the preheated oven for 40-45 minutes until the cloves are soft and brown on the edges. (Peek in the package to make sure.)
- Remove the bundle from the oven and let rest for 5 minutes.
Notes
If roasting pre-peeled garlic cloves, just mount them on a piece of foil, and drizzle with olive oil. Sprinkle with kosher salt and pepper and gather you the foil to make a garlic bundle and proceed with the instructions but check garlic at 35 minutes.
To remove the cloves from the roasted head of garlic, pull the head apart to separate the cloves and then gently squeeze the roasted garlic from the papery casing.
The roasted garlic can easily be spread with a knife.
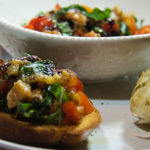
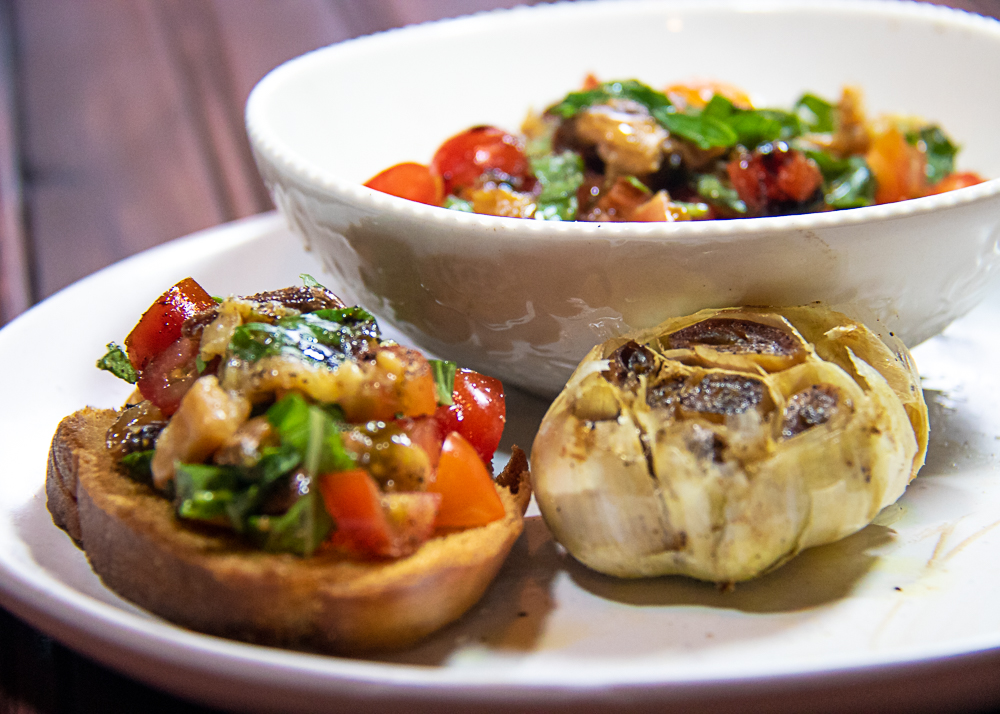
Cherry Tomato and Roasted Garlic Crostini
- Category: starter
- Method: fresh
Description
A quick and simple recipe to feature roasted garlic using ingredients you probably already have on hand.
Ingredients
- 10–12 cloves roasted garlic
- 4 ounces cherry tomatoes, diced
- 2 tablespoons fresh basil, cut into chiffonade
- 2 teaspoons extra virgin olive oil
- 1 teaspoon balsamic glaze
- 1/2 teaspoon kosher salt
- 1/4 teaspoon black pepper
- 12 slices crostini
Instructions
- Dice the cherry tomatoes into small pieces. Gently chop the roasted garlic into a similar sized pieces. Cut the fresh basil into a thin chiffonade.
- In a small bowl combine the garlic, tomatoes, basil, olive oil, balsamic glaze an gently stir to combine.
- Add the kosher salt and pepper to taste and stir.
- Top each crostini with the cherry tomato and roasted garlic mixture and serve.
Leave a Reply