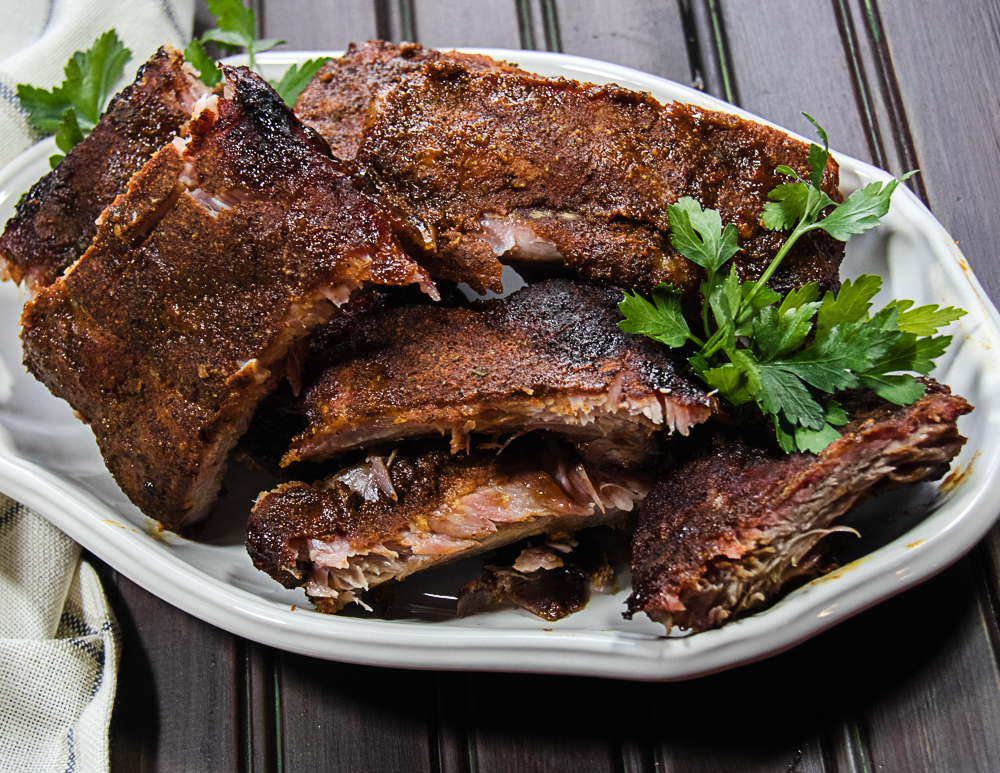
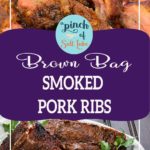
I’m particular about my BBQ ribs. I want them dry-rubbed, not slathered in sauce and very tender. These brown paper bag ribs are full of flavor and just shy of falling off the bone.
Even before we got a Traeger and discovered a whole new world of cooking, I would make ribs on the grill. After many racks of baby back ribs, (and a few failures), I discovered the secret for my perfect rib. Fast forward to the world of 3-2-1 ribs, and multiple variations of timing, I’ve decided the simplicity of these brown paper bag ribs produces a better end result.
Types of Pork Ribs
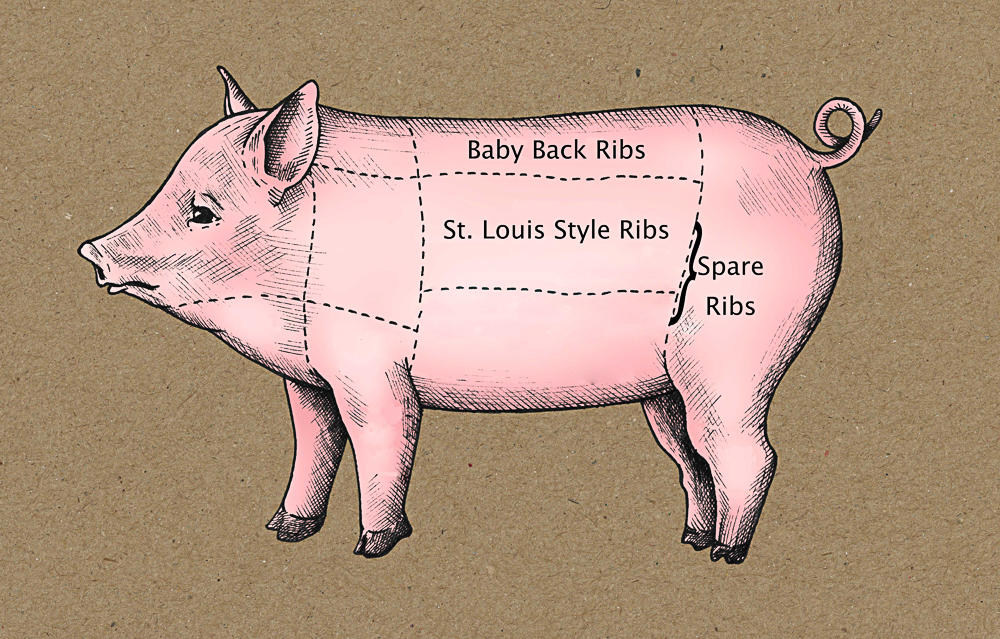
St. Louis Style Pork Ribs

St. Louis style ribs come from the lower rib cage, (the ribs that surround the belly of the pig) They are trimmed to be uniform in shape and are flatter than the curved baby back ribs. The meat is, by nature of where is from on the animal, a richer, fattier cut that has more meat flavor. The ribs are larger in size but there is less meat proportionally than baby back ribs have.
Pork Spare Ribs
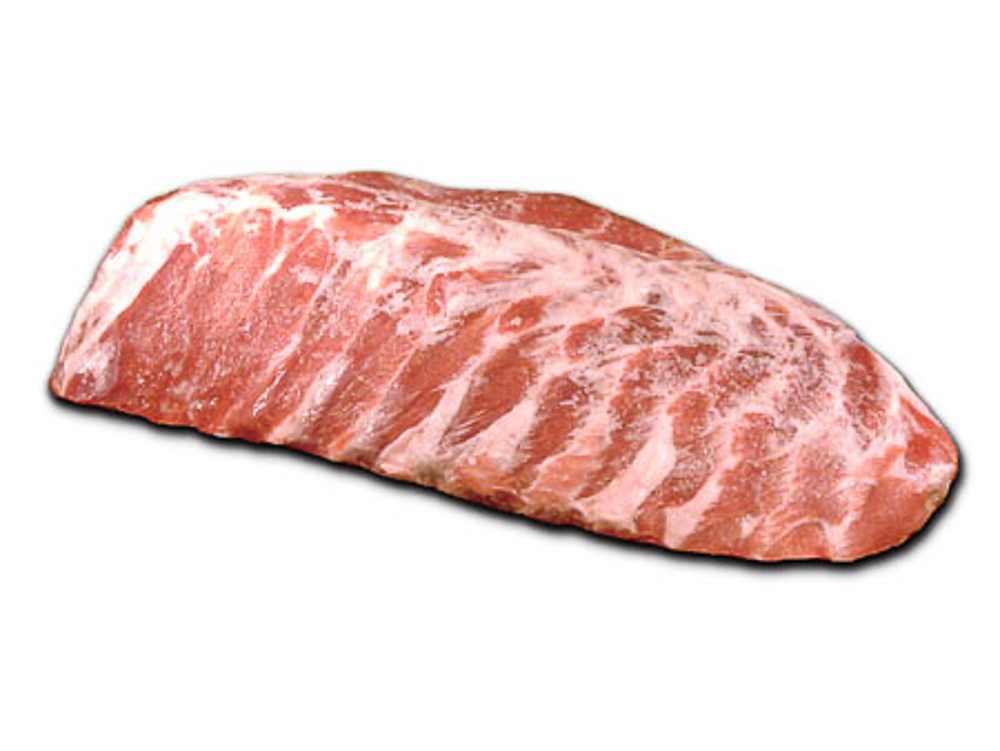
Pork spare ribs include the cut of St Louis style ribs as well as the lower ribs that are near the belly of the pig. They run nearly all way to the front of the legs to the rear legs. Proportionally they have al lot more fat and less meat than than the more trimmed cuts of St. Louis style and baby back ribs.
Baby Back Ribs
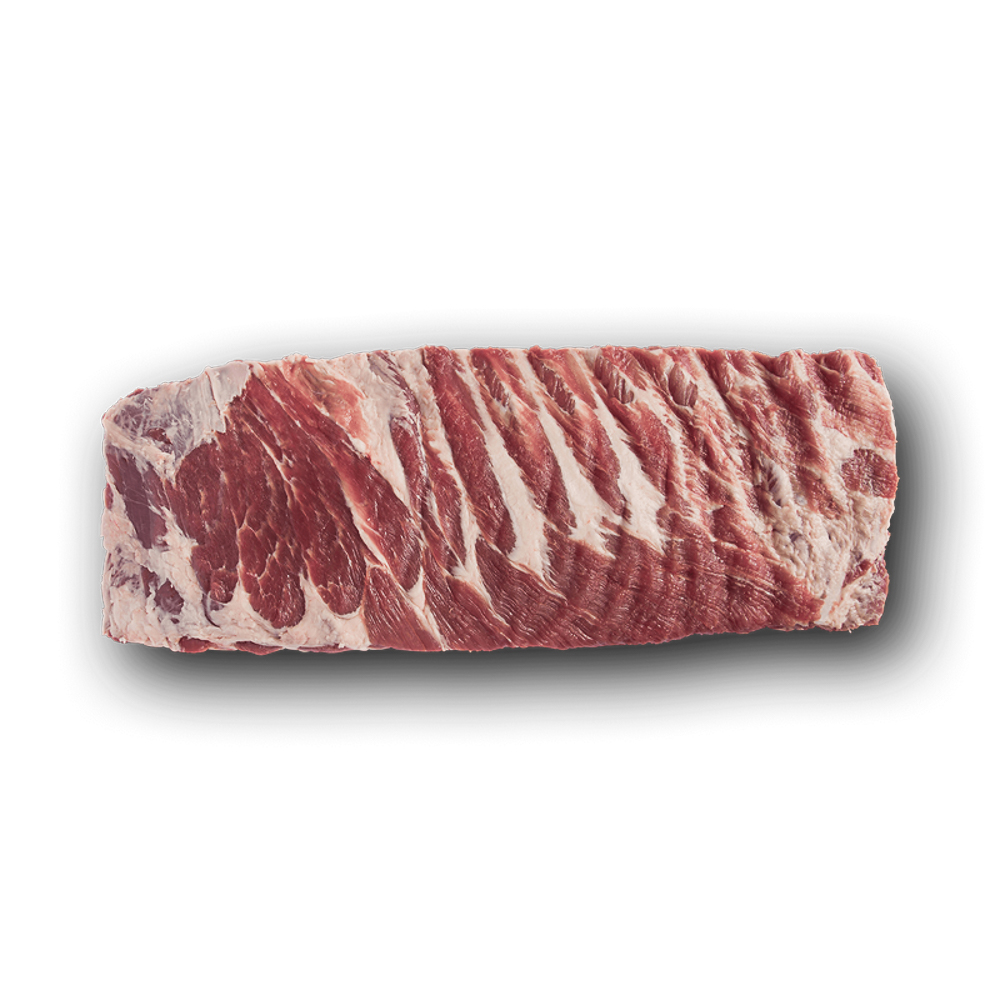
Baby back ribs come from the top of the pig (on either side of the backbone.) The rib bones are curved and are smaller in size. These give a higher rib to meat proportion than the other cuts of ribs. The pork loin and rib roast are cut from the pig from the same area as baby back ribs.
Barbecue restaurants have made this cut seem the most prized type of ribs, but actually, St. Louis style ribs are the preferred rib cut for competitions. Another factor is the baby backs are smaller so nearly twice as many rib racks are needed to feed the same amount of people as St. Louis site ribs.
For this recipe, I’m using baby back ribs since that is what looked the best, although you can easily switch out to St Louis style ribs. Whichever rib you choose you to need to remove the thin membrane from the back of the ribs. This membrane doesn’t break down during cooking and curls the meat if it is left on making it necessary to deal with it as you eat the ribs. Take the steps to remove the membrane to enhance your rib eating experience.
How to Remove the Membrane from the Ribs
It takes a bit of patience and practice to remove the membrane from the back of the ribs. If you can loosen a corner of the membrane with a sharp tool and pull it so it is a loosened from top to bottom of the ribs.
With careful pressure, pull the membrane across the rack of ribs. We a practiced hand, you can often remove the membrane in one piece.
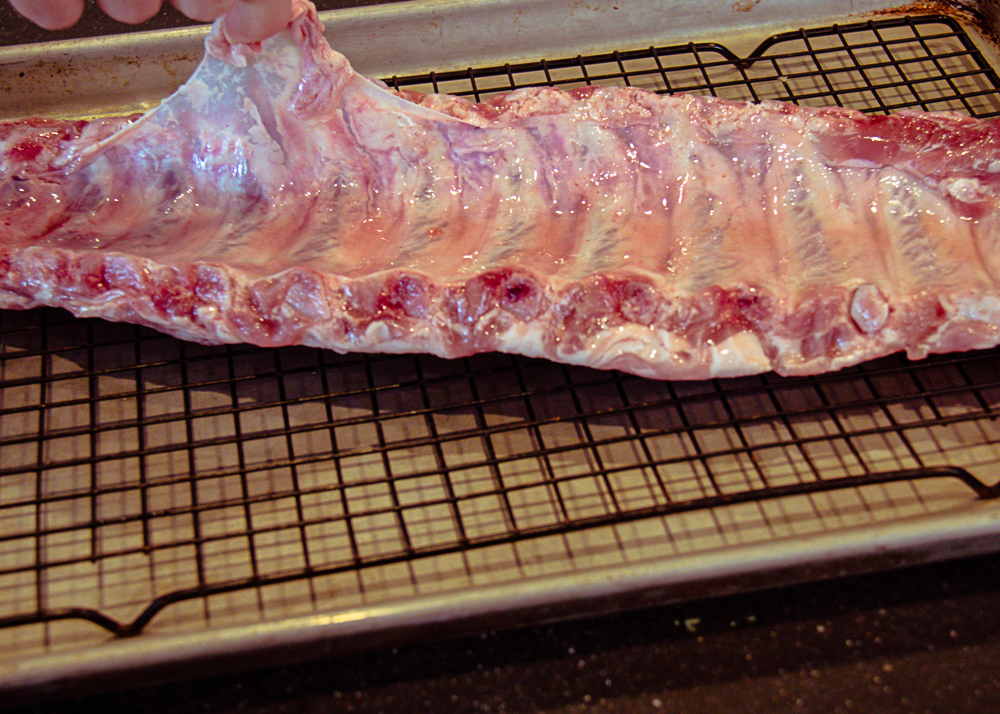
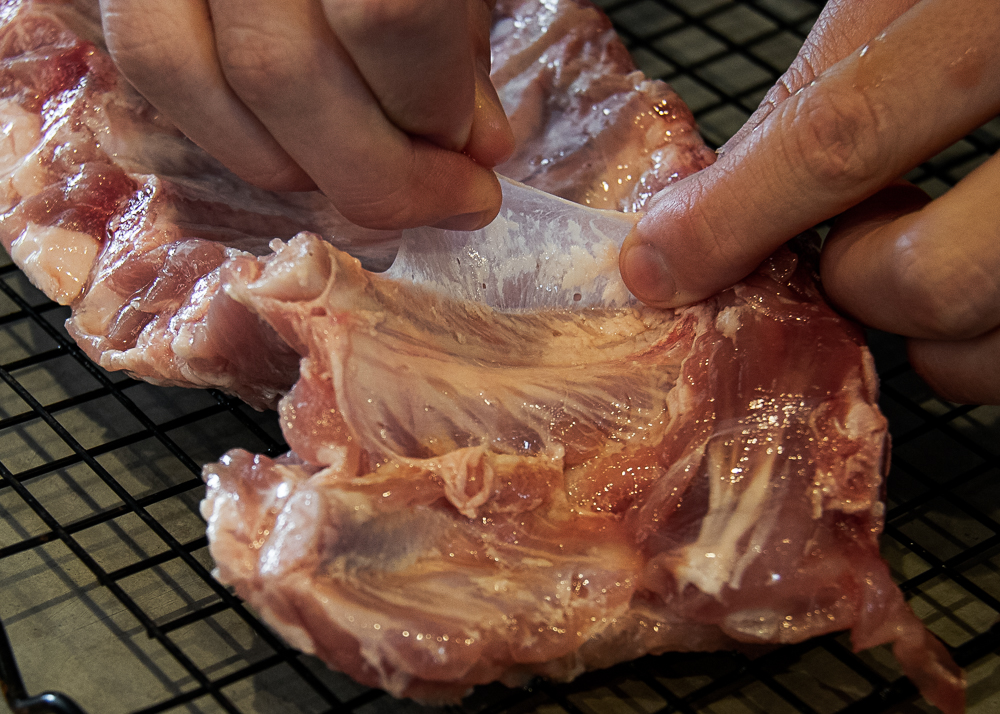
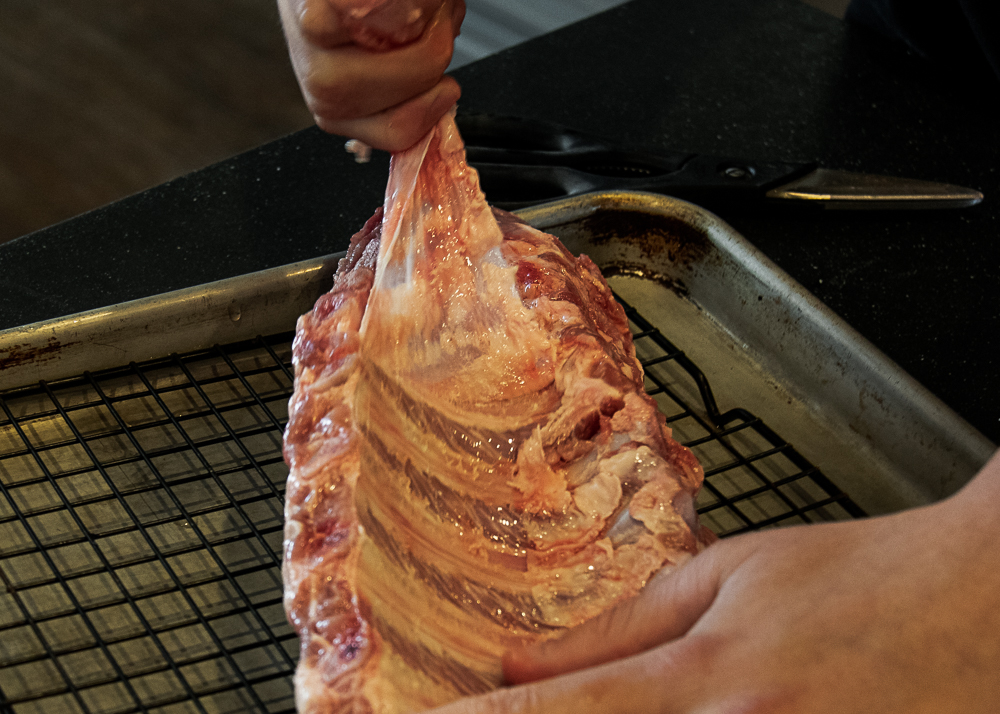

The brown paper bag ribs are smoked on a grill (indirect heat with a smoker box to impart smoke ) or smoker for the first part of the cooking process. It will take 2+ hours to get a nice smoke ring on the meat. I like to set the Traeger to 225° for this part of the cook.
When the ribs have a nice color started on the meat, transfer each rack to a large piece of foil and add about 1/4” of liquid to the bottom of the packet. This liquid could be apple juice or cider, maple syrup, barbecue sauce mixed with butter, or any combination. I use apple juice, 2 tablespoons melted butter, and a generous squeeze of maple syrup. Seal the foil to create a nice cocoon for the ribs to steam a bit. Put the packets back on the grill and let them go for another 2+ hours. Check the ribs to see if the meat has pulled back from the end exposing about 1/4” of bones. I look for the bones to twist easily.
How to Know When the Ribs are Done?
USDA says pork is done when it reaches an internal temperature of 145°F, but only cooking ribs to this temp will produce tough hard meat. You need to cook ribs to the point where the collagen and fat have melted into the meat. That is around the 197°-204°F range. They should pass the bend test. You pick up the rack from the middle and the ends should bow to the almost breaking point. This results in a rib that doesn’t break away from the bones at a glance. But there is little to no resistance and when you bite into the meat it bones come away clean.
Each rack of meat cooks differently, the wind, ambient temperature and thickness of your grill or smoker all factor in to when the ribs are ready to come off.
Brown Paper Bag Rib Stage
You aren’t done yet. When the ribs have pinged several of the indicators above. It is time for the rest. I don’t know exactly what magic a brown grocery bag imparts to the meat during the 60 minutes the rib packets hangs out in the sealed bag. But it seems like a great transformation occurs. At the end of the hour, the meat is still quite warm, the juices have redistributed throughout the meat. The rack is ready for a quick slice into 2-3 rib sections and to take center stage on the table.
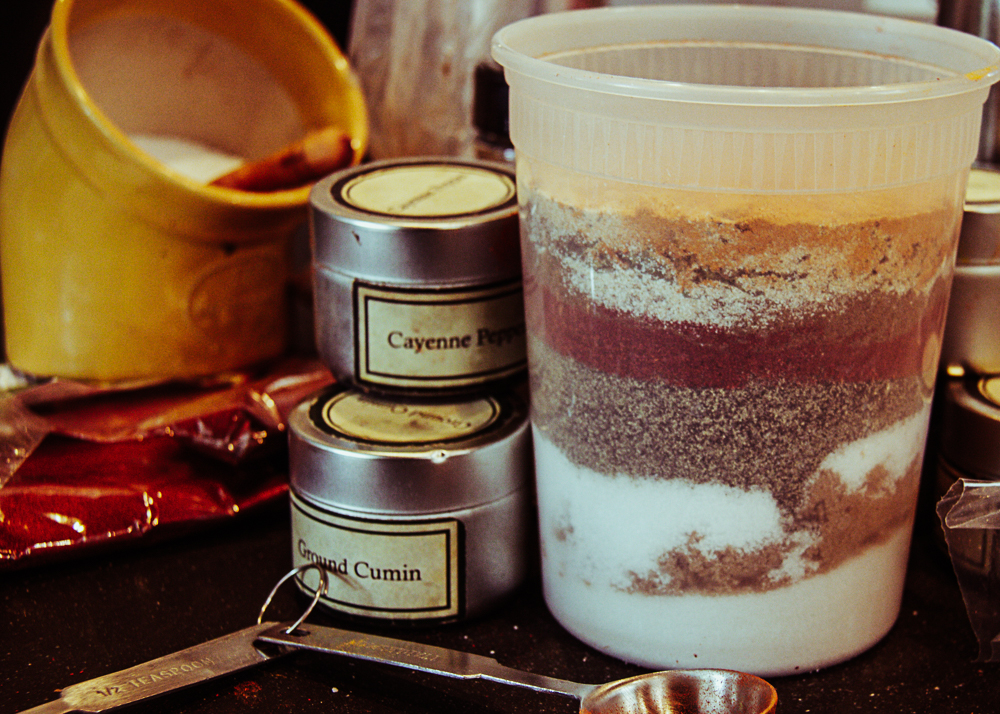
Since I prefer to dry rub the ribs and pass warm barbecue sauce so people can dress their own, this method is rib nirvana at our house. I already posted my homemade sweet heat dry pork rub recipe here. Get your hands on a pork rib rack of your choice and try this method yourself.
Print
Brown Paper Bag Ribs
- Prep Time: 30 minutes
- Cook Time: 5+ hours
- Total Time: 26 minute
- Yield: 4 servings 1x
- Category: Entree
- Method: BBQ
- Cuisine: American
Description
These brown paper bag ribs are dry-rubbed, grilled, wrapped, and then rested to create a tender rib that will knock your socks off.
Ingredients
- 1 rack baby back pork ribs (meaty and fairly even from one end to the other)
Basic Rib Rubs (enough for one rack of ribs)
- 1 tablespoon paprika
- 1 tablespoon brown sugar
- 2 teaspoons kosher salt
- 1–1/2 teaspoon orange zest
- 1 teaspoon cumin
- 1/2 teaspoon ground black pepper
- 1/4 teaspoon cayenne pepper
- Pich of allspice
Liquid for Packet
- 1/2 cup apple juice
- 2 tablespoons butter, melted
- 1–2 tablespoons maple syrup
- 1 teaspoon Worcestershire sauce
Instructions
- Remove ribs from the package and pat dry. Remove the membrane from the back of the rack of ribs. Liberally sprinkle the dry rub of your choice on both sides of the ribs. Massage it into the meat.
- Arrange rib rack on a baking sheet and let rest for at least 30 minutes at room temperature or 2-3 hours in the refrigerator.
- About 30 minutes before time to begin cooking, bring the ribs to room temperature. Set up a smoke box with wet wood shavings of hickory, oat, cherry, or pecan. Turn on the grill and set up an indirect cooking surface large enough for the rack to be positioned off the heat. Or turn on the smoker to 225°F.
- Place the rib rack (rib side down) on the grill and smoke for at least 2-3 hours. When the ribs are the desired color and the meat is just beginning to pull back from the bone. Low and slow is the way to cook the ribs.
- Transfer the ribs to a double layer of heavy-duty aluminum foil.
- Mix together a liquid concoction of your choice. See above for my go-to mixture. Pour 1/2 -1 cup liquid in the foil. Gently crimp the foil into a liquid-tight bundle.
- Return foil-wrapped ribs to the grill or smoker and continue cooking for other two-plus hours. Check for doneness after about 90 minutes.
- When the ribs pass the bend test, transfer the wrapped ribs to a brown paper bag and crimp to close. Let rest at room temperature for 60 minutes. (Not for 59 1/2 minutes… a full hour.)
- Cut the ribs into 203 rib sections and serve.
Notes
St Loius Style ribs will require more time in the smoking and foil-wrapped stages since they are larger in size and weight.
Mix any extra rub with bottled barbecue sauce and heat while the ribs are resting. Pass with the ribs.
Nutrition
- Serving Size: 3-4 ribs

Leave a Reply