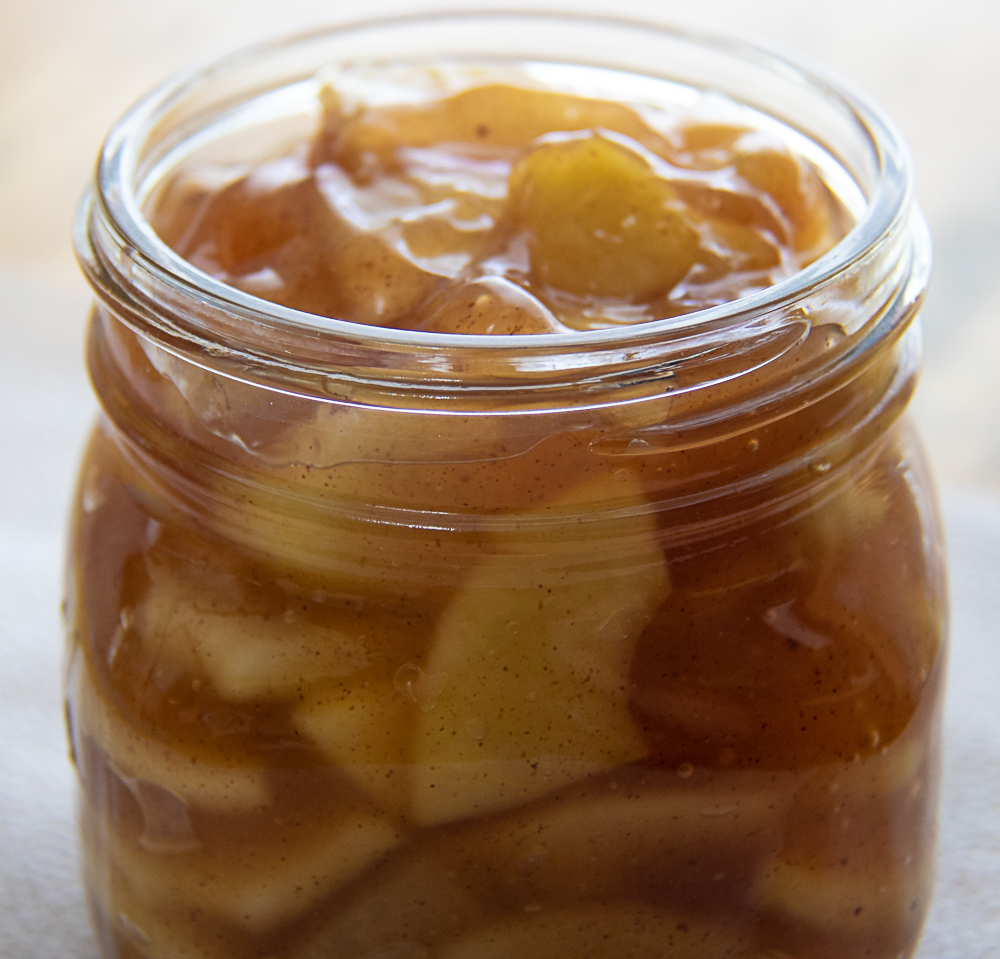
In the ramp-up to the holidays, I love to have some gems waiting in my pantry. When apples are abundant at the farmers market and stacked high at the grocery stores, it is time to devote a crisp afternoon to making and processing some canned apple pie filling.
Don’t be put off canning your own fruit, you can contact your county extension office for help. The internet is full of tutorials on how to process fruit safely. Canning isn’t difficult, it does require a few pieces of special equipment and you must make sure you follow the instructions and keep things clean. The satisfaction of seeing a line of bottled fruit on your counter is a wonderful way to give your confidence a giant boost. (And the bottles look so pretty.)
Not only is this apple pie filling fabulous to use for yourself, it makes a wonderful holiday gift. Something you made yourself is so much more personal than a store-bought present, and it is perfect for the person who has everything.
If you aren’t ready to take the plunge into canning, never fear, you can always freeze the apple pie filling instead. I give alternate directions in the notes on how to do this.
Choosing the right apples
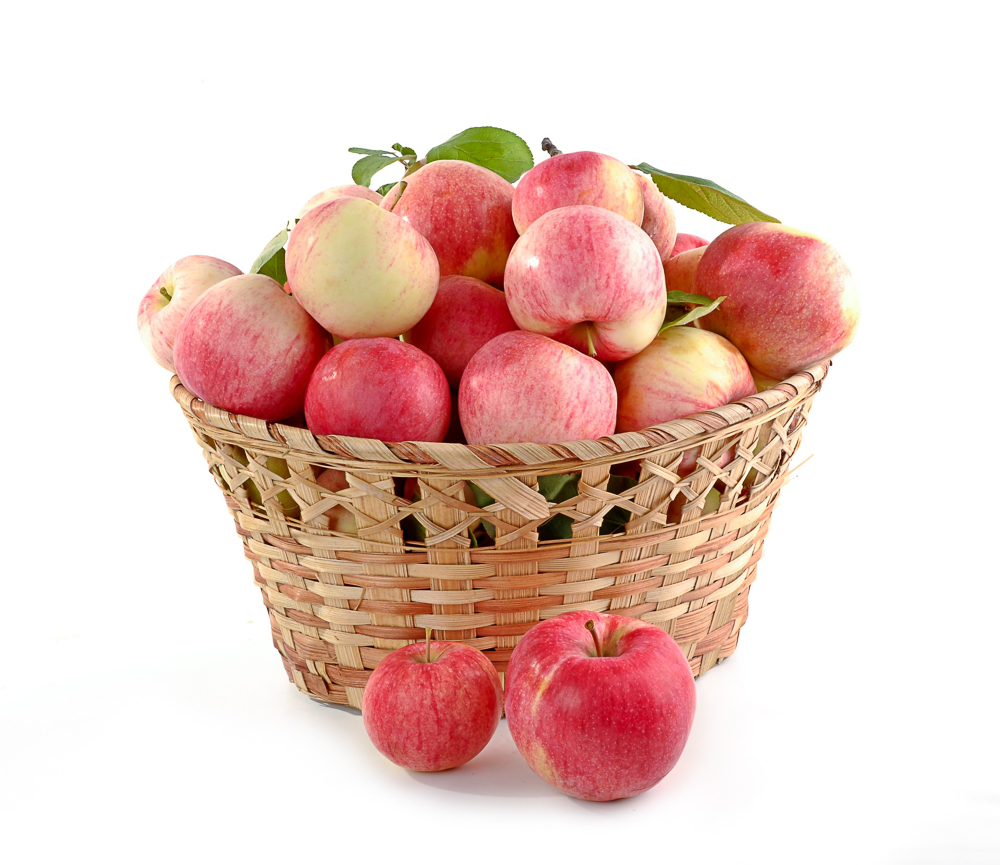
Certain varieties of apples are best for baking, while others lend themselves to applesauce, still others varieties make stellar cider. Choosing the right type or types of apple will insure a great apple pie. Mushy apple pie is the result of the wrong apple being used. Baked goods should be made from apples that are firm. I like to use a mixture of firm sweet and firm tart apples in baked apple dishes. This allows the pie or crumble to capitalize on the best texture and tastes of various apples.
What apples are best for pies
- Firm sweet apples are Golden Delicious, Pink Lady, and Jonagold.
- Firm tart apples are Granny Smith, Honeycrisp, and Northern Spy
Remember:
- 1 pound of apples = 2 large, 3 medium, or 4 to 5 small apples
- 1 pound of apples = about 3 cups peeled, cored and sliced apples
One of the most disappointing results of doing all the work to peel, core and slice the apples and then cook them in a wonderful sweet sauce, laden them into bottles and process them by canning or freezing is having a filling that is watery and clumpy rather than having apple slices suspended in a glossy sweet sauce. The way to avoid this result is by using a modified food starch like Clear Jel rather than cornstarch, flour or tapioca to thicken the sauce surrounding the apple slices.
Modified Food Starch
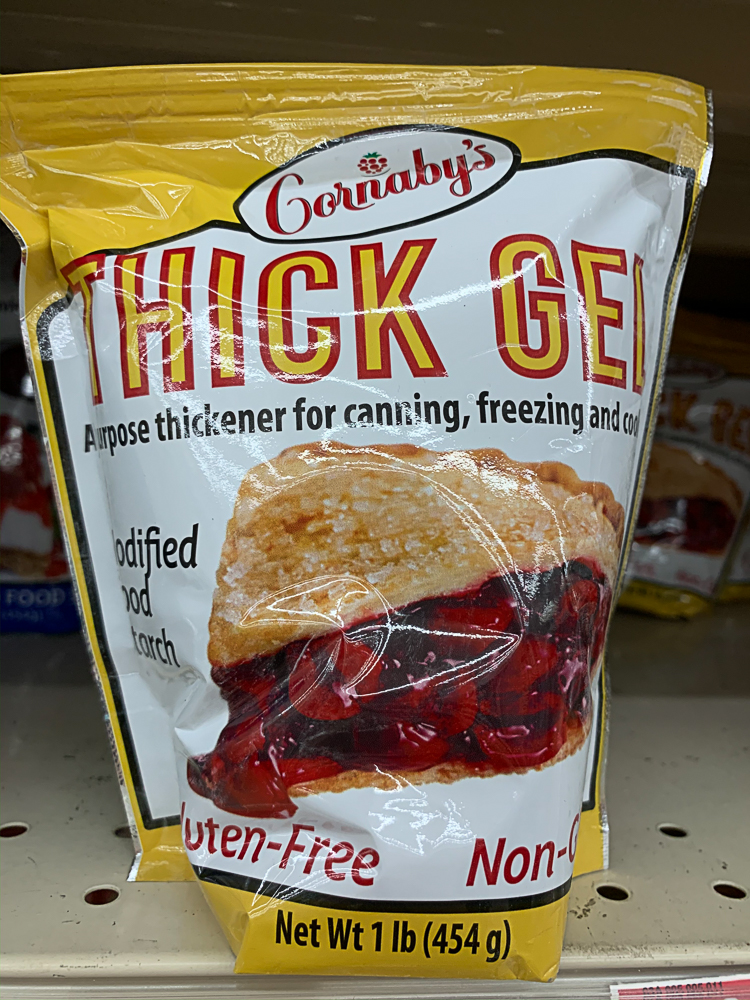
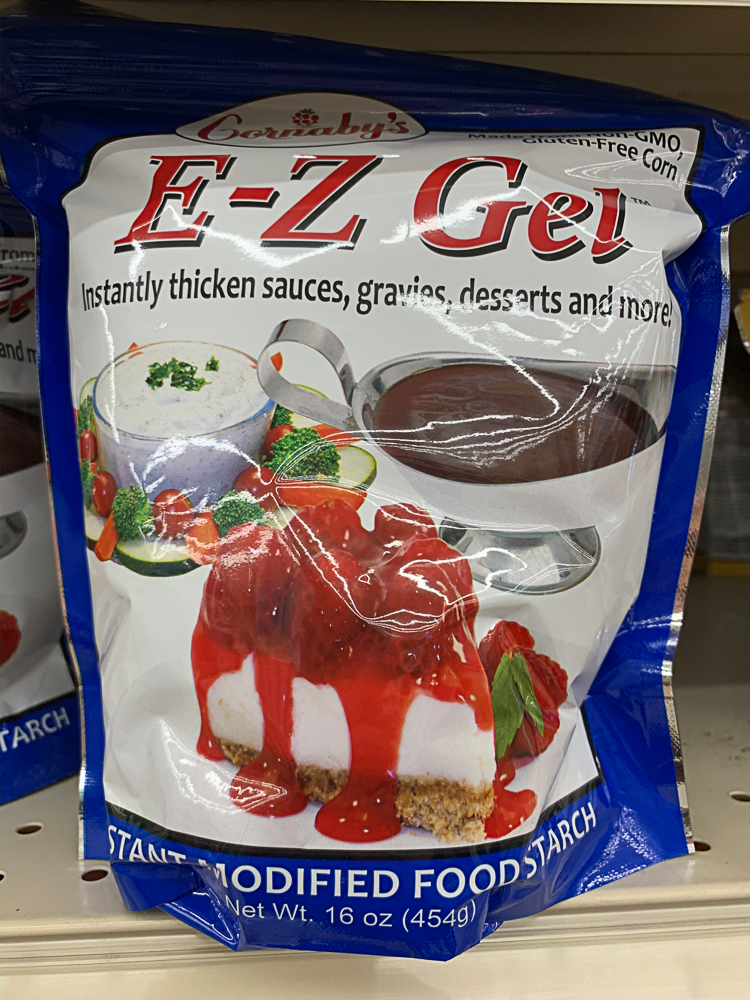
Modified food starch is usually a corn starch made to withstand the multiple heatings of the canning process, as well as the freezing without altering the texture of a thickened state. So sauces made with a Clear Jel, (Clear Gel as some brands name it) will stay stable and glossy hot, cold frozen or reheated. Cornstarch, flour, and tapioca will all thicken a sauce and be stabilized at first, but all three forms of thickener (as well as potato starch and rice flour) will break down when frozen or heated during the canning process.
The best part of using a modified food starch is that it can be substituted straight across for cornstarch, flour or tapioca. It even comes in an instant form that thickens without the need of heat to activate its thickening agent.
Modified food starch is becoming more and more common in grocery stores. It can be found in the same grocery aisle as the baking ingredients usually near the canning supplies. (Clear Jel is not the same thing as Sure Jel, which is a brand of pectin.) It can also be bought in one pound bags online. Since you use only 6 tablespoons per recipe, a pound will last you.
Print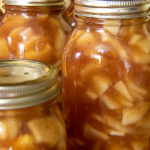
Apple Pie Filling
- Prep Time: 20 minutes
- Cook Time: 46 minutes
- Total Time: 2 hours
- Yield: 2 quarts 1x
- Category: dessert, apple pie,
- Method: canned
- Cuisine: American
Description
Spiced apples in a luscious sauce ready and waiting to be used in pies, as a topping for ice cream, cake or even as the base for a quick apple crumble.
Ingredients
- 3 pounds apples, peeled, cored and sliced (8 cups)
- 2 tablespoons lemon juice
- 2 cups water
Sauce
- 1–1/2 cups sugar
- 1/2 teaspoon salt
- 1 teaspoon ground cinnamon
- 1/4 teaspoon nutmeg
- Pinch of allspice
- 6 tablespoons (1/4 cup + 2 tablespoons) regular modified food starch (not instant) like Clear Jel
- 1/2 cup water
Instructions
- Sterilize 2 quart bottles or 4 pint bottles by washing in very hot sudsy water and rinsing well.
- Prepare a water bath canner if planning on canning the filling. If planning on freezing the filling, use 2 quart freezer bags or 4 pint freezer bags or freezer containers.
- In a large sauce pan, combine 8 cups apple slices with 2 tablespoons lemon juice and 2 cups of water and bring to a boil for 5 minutes.
- Meanwhile, in a container, combine the sauce ingredients and stir will to combine so there are no clumps.
- After the apples have boiled for 5 minutes, pour in the sauce mixture and stir well to combine. Allow this mixture to boil for 1 minute. The sauce should be thick, and the apple slices still slightly firm.
- Carefully ladle the hot apple mixture into bottles, using a funnel to keep the bottle rim clean.
- Fill bottles leaving 1/2” between the top of the bottle and the apple pie filling (this is called headspace).
- Release any air bubbles, by inserting a utensil and carefully working it around the sides of the bottle.
- Wipe off the jar rim with clean, slightly damp cloth (food on the rim prevents a the bottle from sealing.)
- Attach the prepared lid and metal band and finger tighten. (Prepare the flat lid according to the manufactures instructions.) Do not try to reuse lids.
- Place filled bottles into the canner making sure the bottles do not touch.
- Process in a water bath for 40 minutes. (This processing time is for sea level, add processing time if you are at a higher altitude.)
- Carefully remove the extremely hot bottles from the canner and set on a towel or rack to protect the surface underneath, again making sure the hot bottles are not touching.
- Allow bottles to cool completely and check that the lid has sealed by pressing center of each lid. If the center of the lid is slightly concave, the jar is sealed. If the center of the lid pops up and down, the bottle did not seal. Unsealed jars can be refrigerated and the filling used within 2-3 days, or frozen or reprocessed within 24 hours.
- Properly sealed apple pie filling will keep for up to one year.
- To freeze the apple pie filling, prepare the freezer bags or containers.
- Follow steps 3-5 above.
- Allow the apple pie filling to cool for 15 minutes.
- Ladle the warm apple mixture into freezer bags or containers, leaving about 1-1/2” of space at the top. As the liquid freezes it will expand and the reserved space allows for this expansion.
- Seal and label the container or freezer bag as apple pie fill and include the date.
- Transfer to the freezer and freeze.
- Use within 4-6 months.
Notes
Use a mixture of firm sweet apples and firm tart apples according to your preference. I like the ratio of 2 parts tart to 1 part sweet apples.
If only using Golden Delicious apples, increase the lemon juice to 1/2 cup.
Check the internet for instructions on adjusting the processing time at your altitude.
I usually double the recipe. If making more, it is best to do it in batches.
1 quart of apple pie filling will fill a 8″ pie, if making a larger pie, add 1-2 raw sliced apples to the apple pie filling just before adding the mixture to the pie.
Nutrition
- Serving Size: 1/2 cup

Leave a Reply